How to add components to ionic page (with side menu included)
Mon.22.10.2018 BY

With the help of this Ionic tutorial, we will answer the most common questions our customers have regarding usage of our Ionic templates. Before we start, make sure you are running the latest Ionic CLI and latest Cordova. Please run: npm i –g ionic@latest npm i –g cordova
Creating a new blank project with side menu
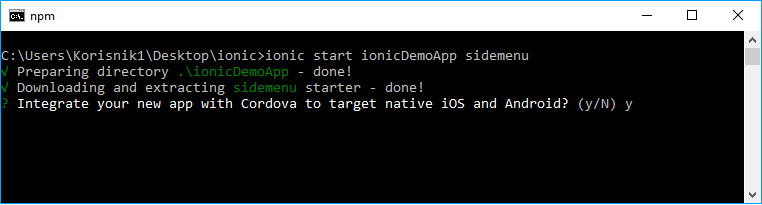
Please run command ionic start ionicDemoApp sidemenu The part ionicDemoApp should be replaced with the name of your app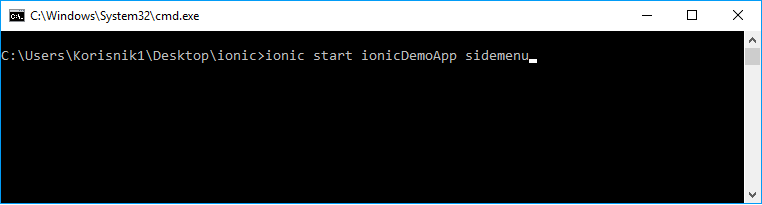 1. You will see the message Integrate your new app with Cordova to target native iOS and Android?
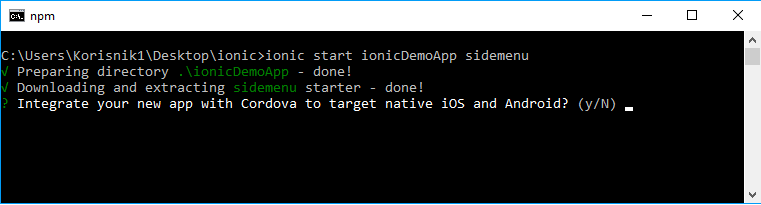 Type letter Y and press enter
 After a few moments you will see next message:
Install the free Ionic Pro SDK and connect your app?
After a few moments you will see next message:
Install the free Ionic Pro SDK and connect your app?
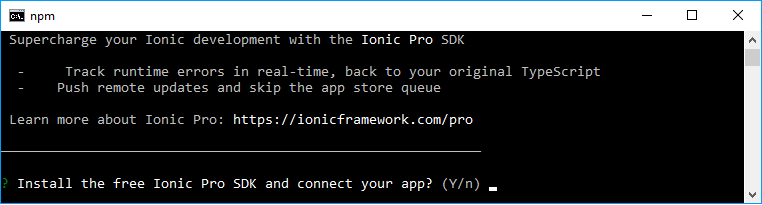 You should type the letter n and press enter
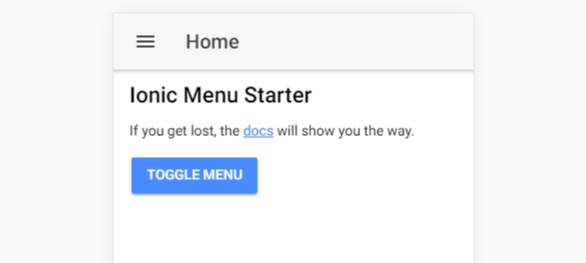
 Open your project with cd ionicDemoApp and start the project just to check is everything functioning properly. The command for launching an Ionic project is ionic serve.
You will see the app in your browser
Open your project with cd ionicDemoApp and start the project just to check is everything functioning properly. The command for launching an Ionic project is ionic serve.
You will see the app in your browser
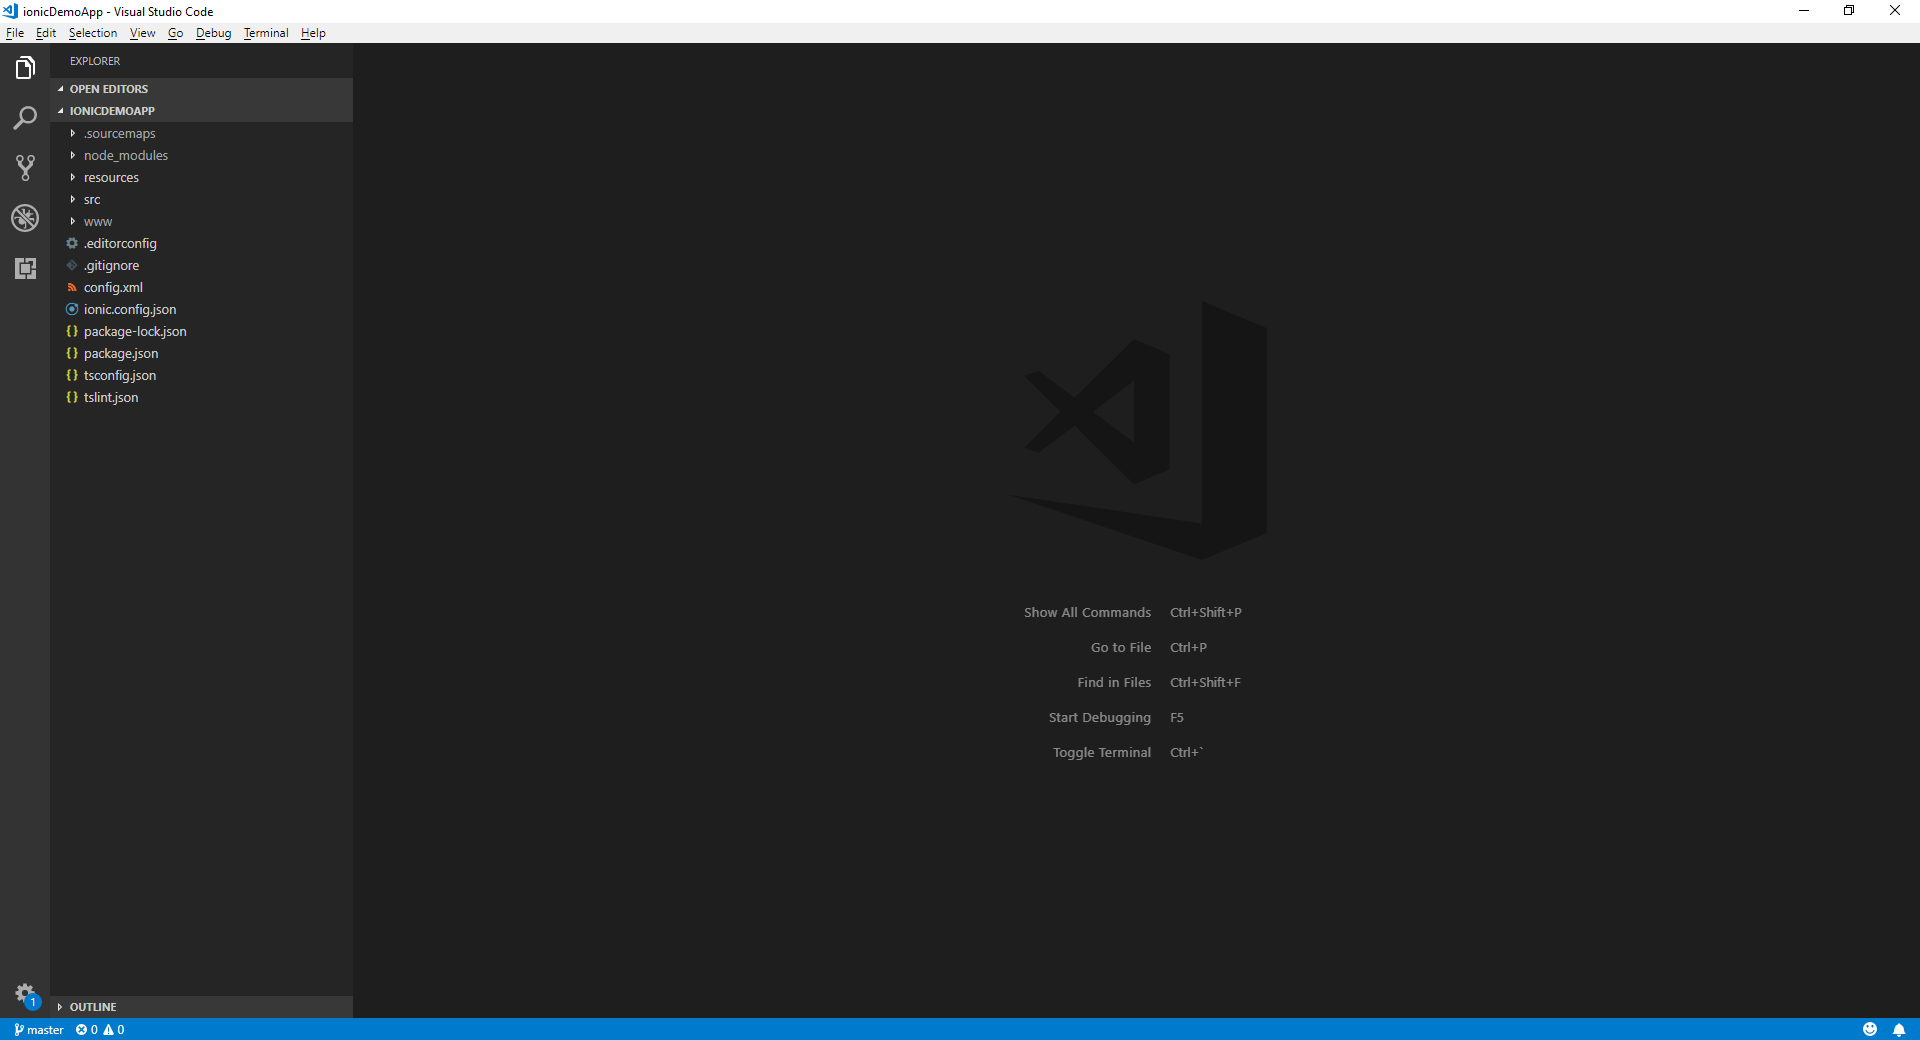
 Open ionic project in your favorite IDE. We prefer to use Visual Studio Code.
What is lazy loading and how to use it?
Even if you aren't familiar with lazy loading in Ionic, you may have heard the term before. Generally, it refers to loading something as you need it. It is commonly used with images, rather than loading all of the images on the page at once, you only load them as the user needs them. However, the concept is not specific to images, and in Ionic lazy loading is used to load pages or modules as they're needed. This practice speeds up the initial load of the app and boosts performance. To support lazy loading we have to add home.module.ts in home folder and list.module.ts in list folder. home.module.ts preview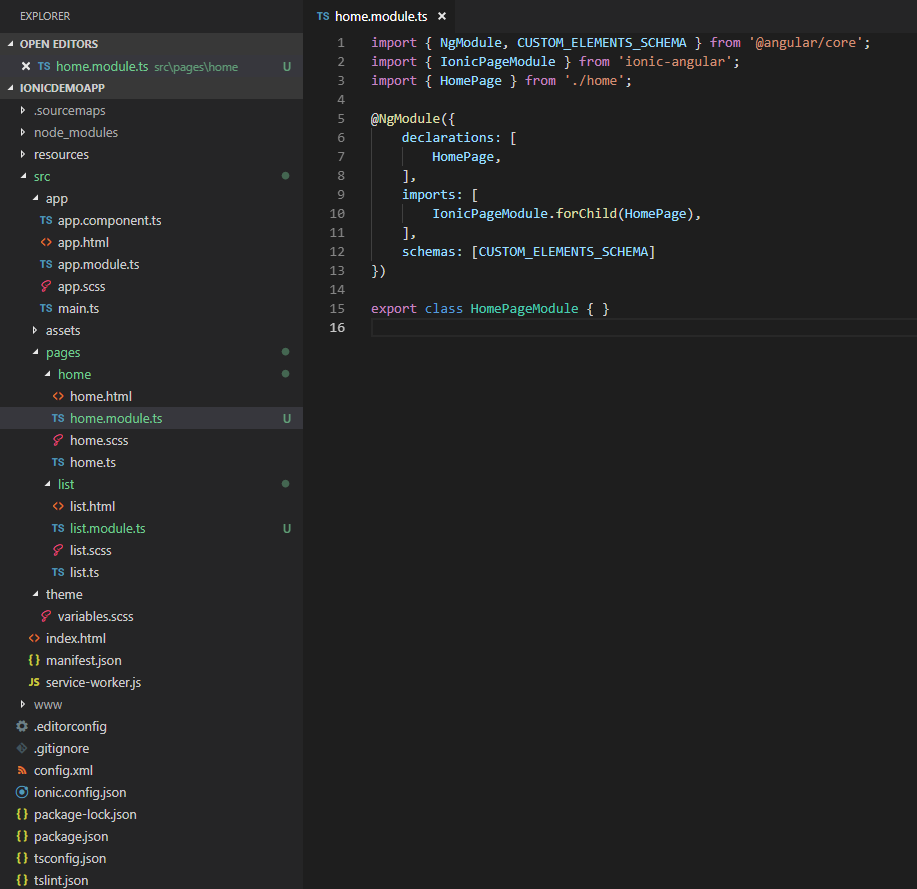 list.module.ts preview
 Now from app.component.ts we can remove line 6 and 7. Add quotes on HomePage and ListPage:
import { HomePage } from '../pages/home/home';
import { ListPage } from '../pages/list/list';
Now from app.component.ts we can remove line 6 and 7. Add quotes on HomePage and ListPage:
import { HomePage } from '../pages/home/home';
import { ListPage } from '../pages/list/list';
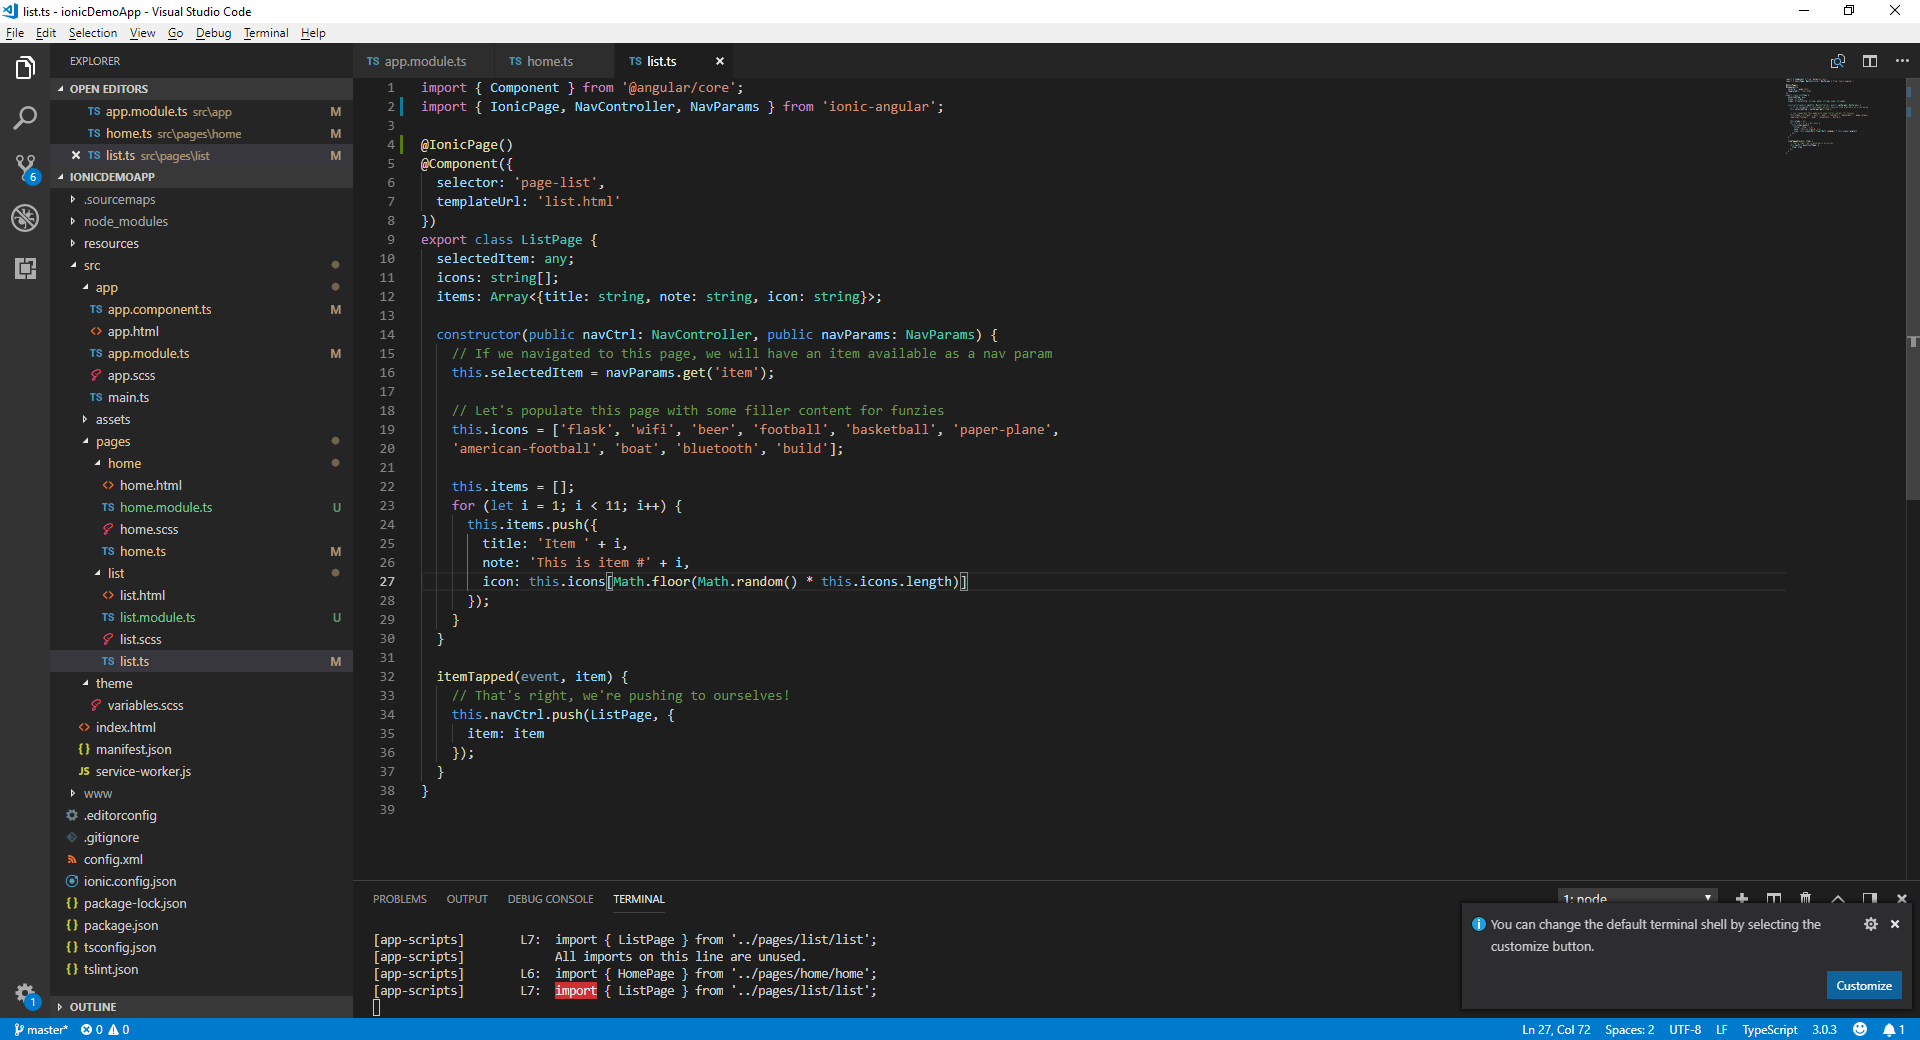
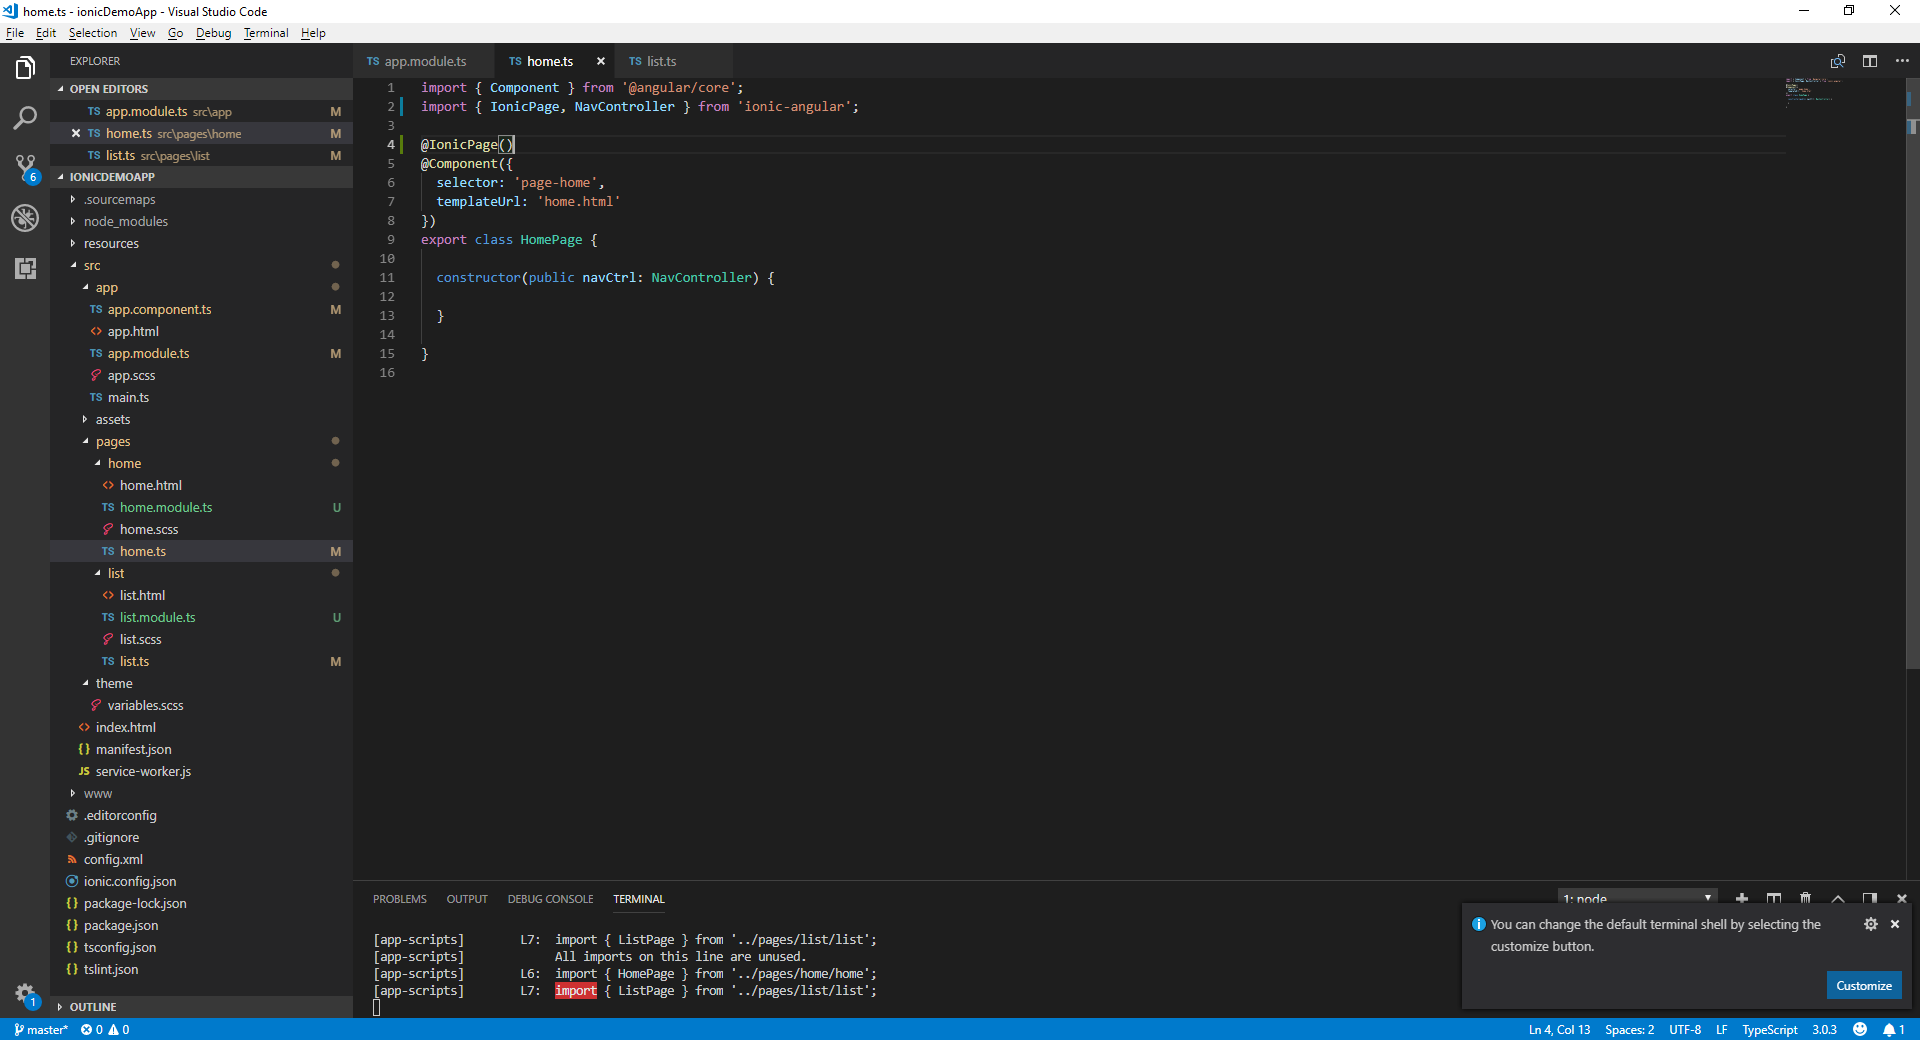
 Also, you have to add @IonicPage() to list.ts and home.ts
list.ts preview
Also, you have to add @IonicPage() to list.ts and home.ts
list.ts preview
 home.ts preview
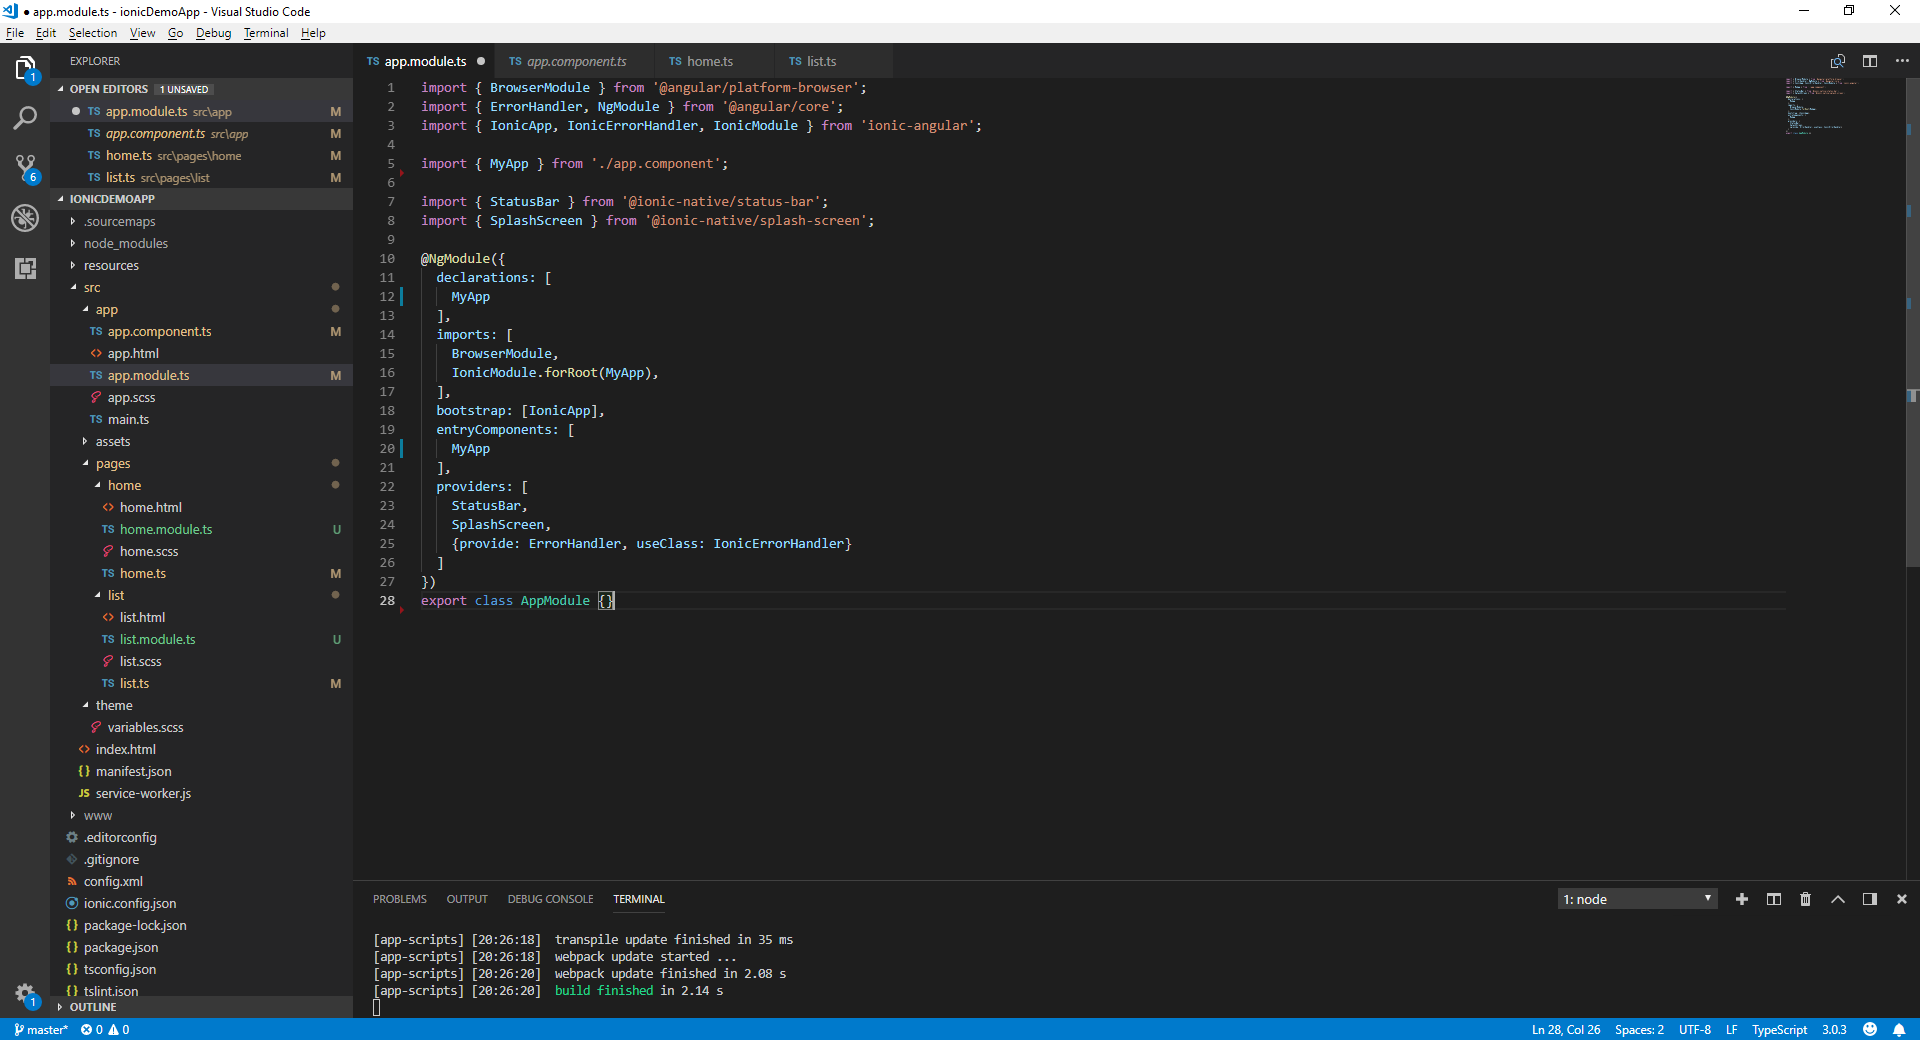
 Now you should open src/app/app.module.ts and remove HomePage and ListPage
How to create a new page?
One common task when working on a mobile app is to add new pages. The command called generator can create files inside our project, and below you will see an example of how to add a new page using this command. To create a new page you should run the following command in Terminal: ionic generate page [YOUR-APP-NAME] Example: ionic generate page google-card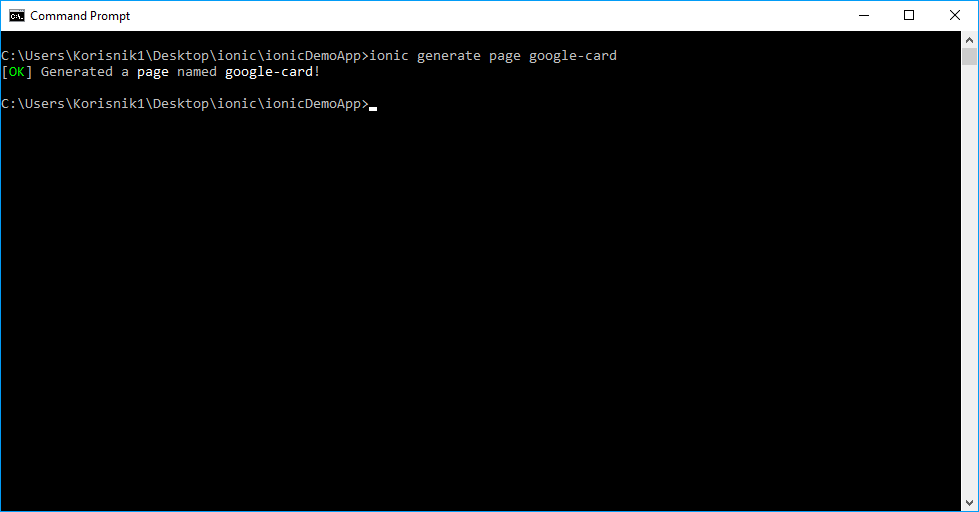
How to add a page in Left menu?
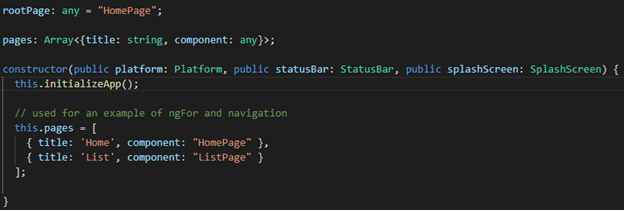
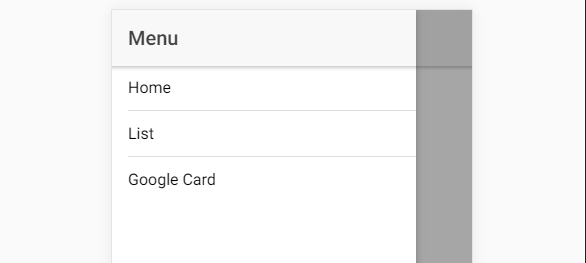
Open src/app/app.component.ts and add Google Card this.pages = [ { title: 'Home', component: "HomePage" }, { title: 'List', component: "ListPage" }, { title: 'Google Card', component: "GoogleCardPage" } ];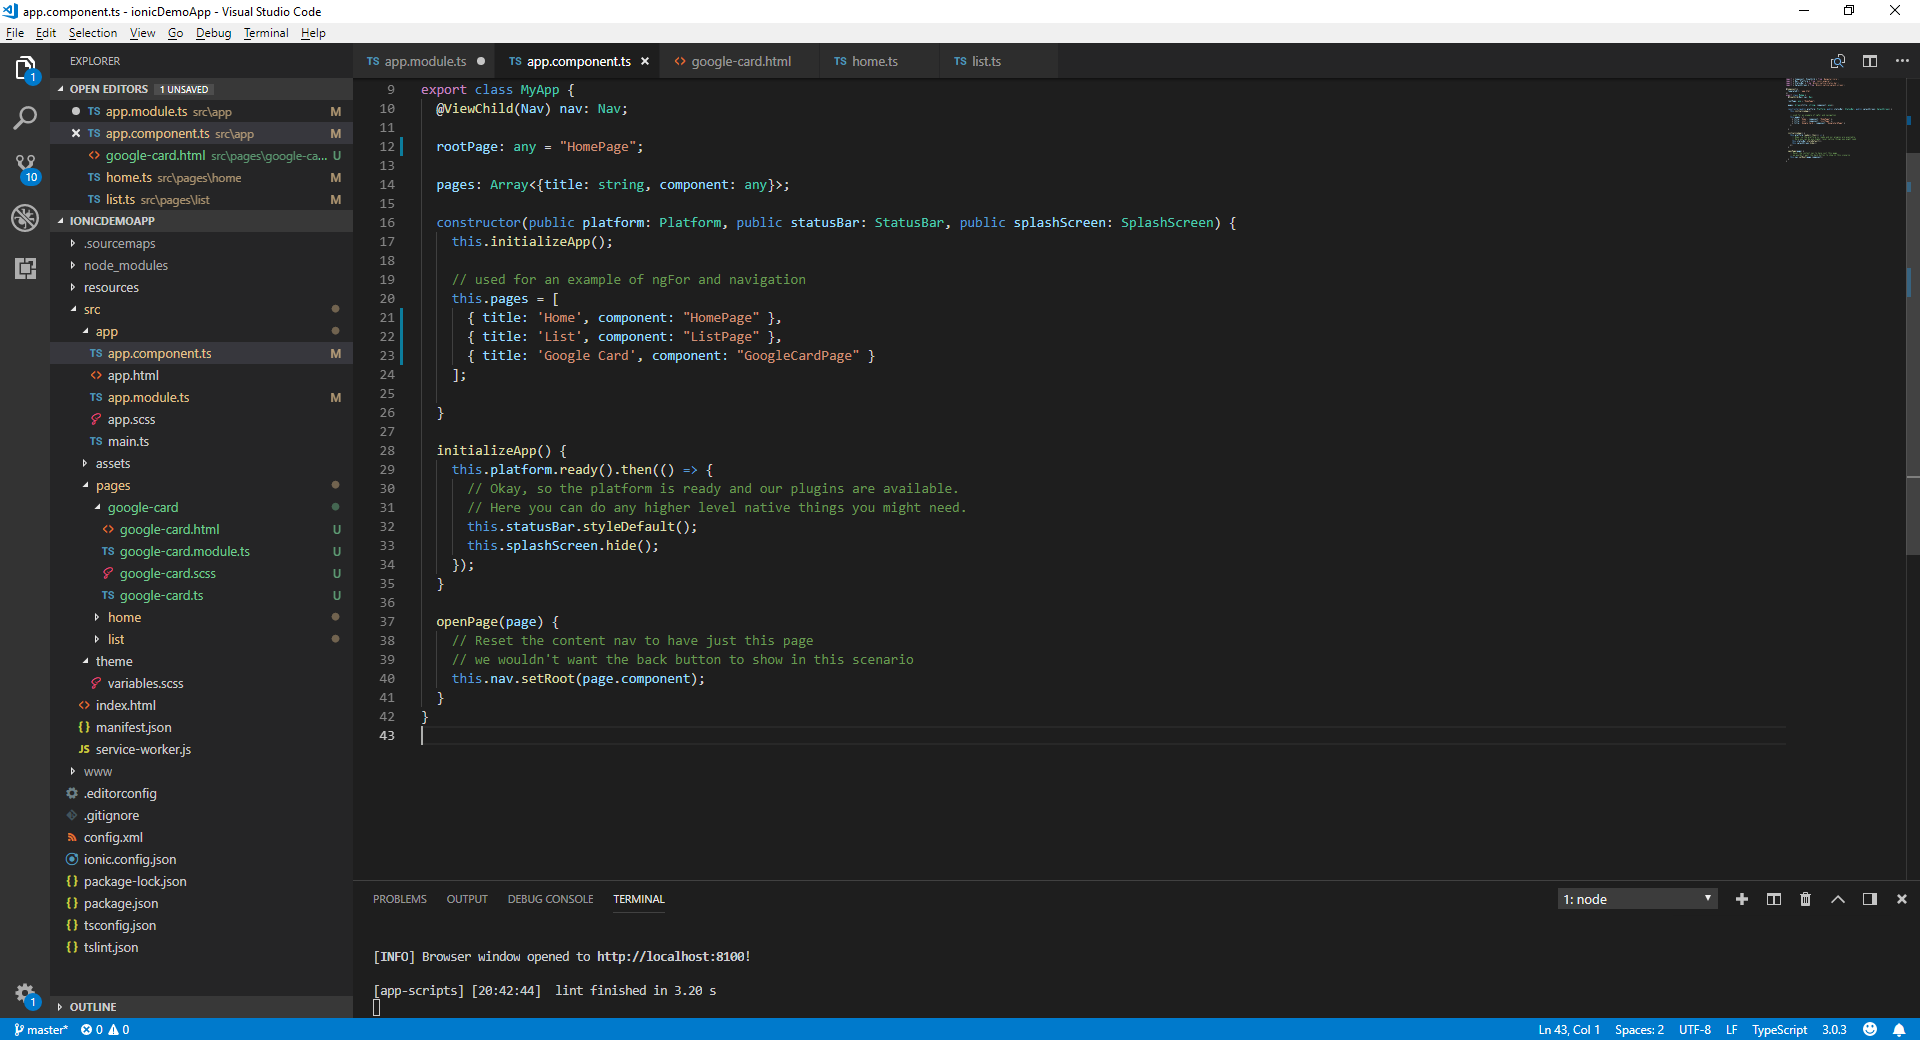 Now you need to check your browser
How to add one of our components to your project?
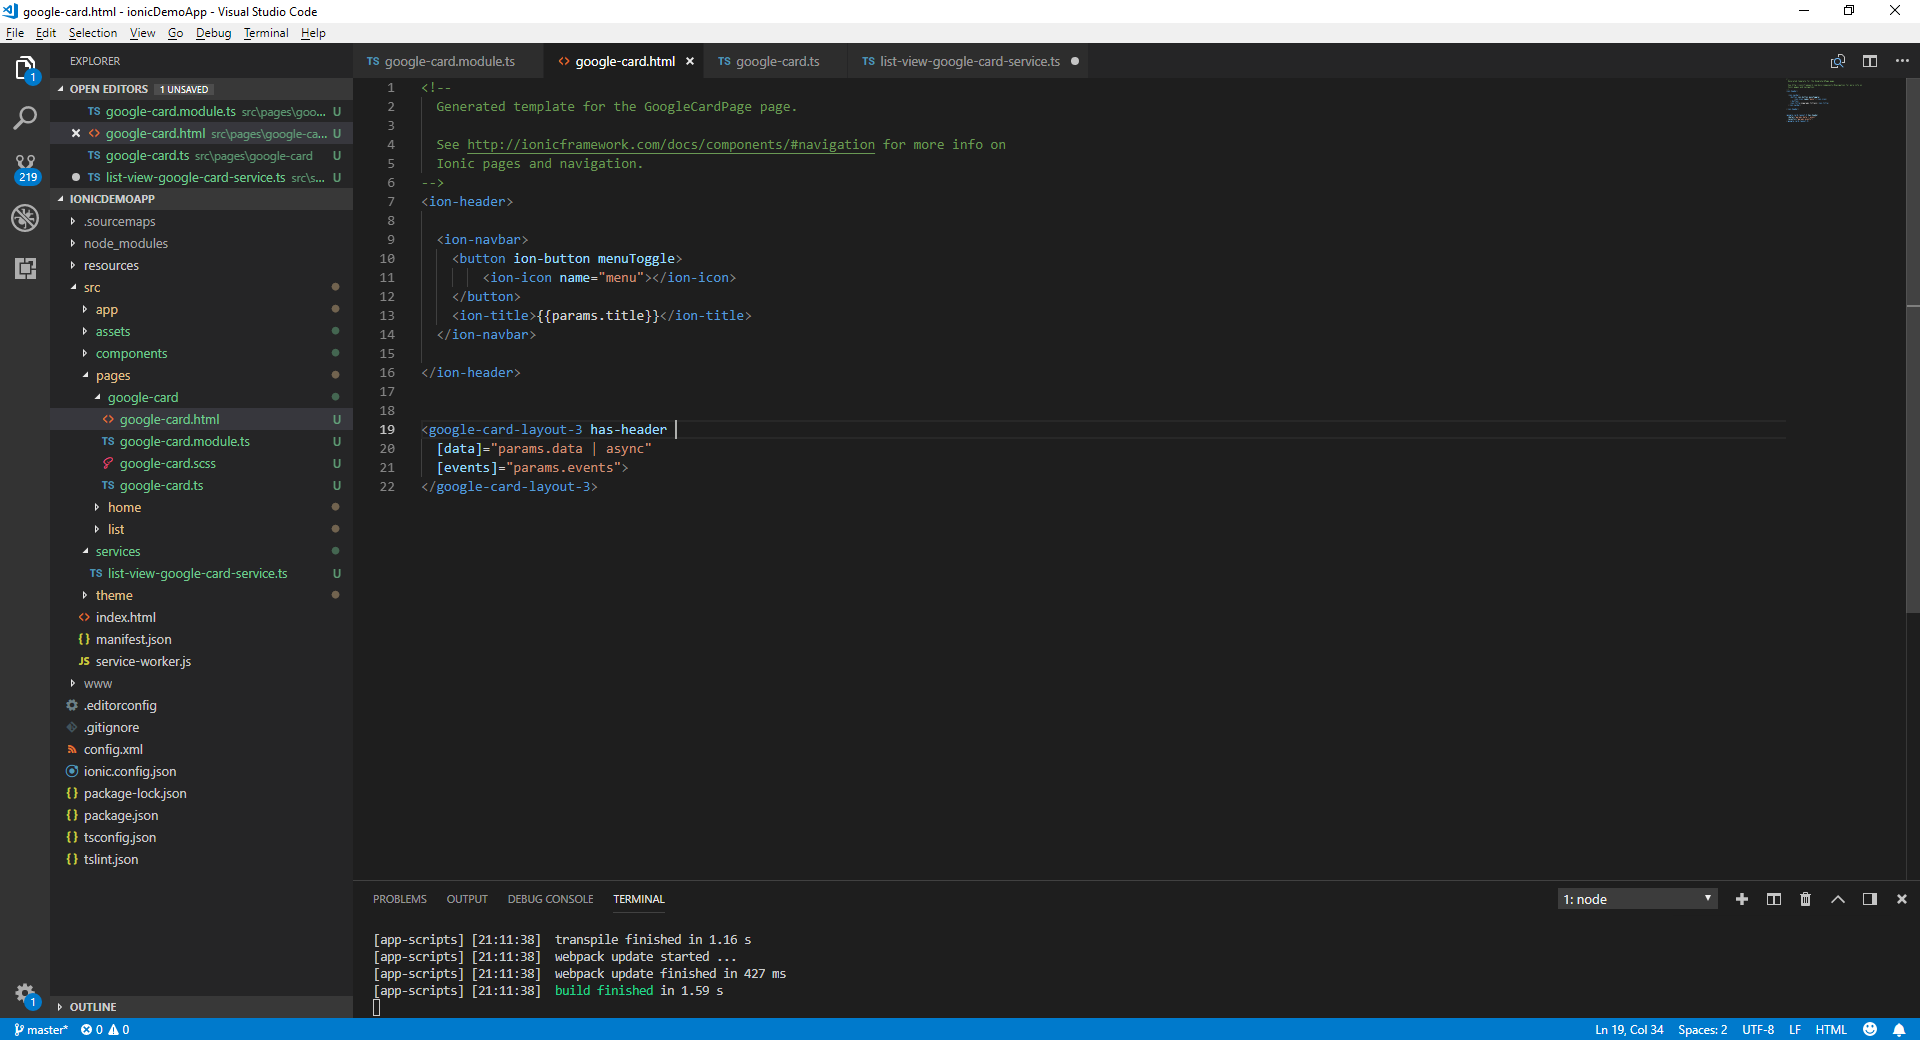
We have come to the part where we explain the steps you should follow in order to add any component from our templates to your project. • Copy assets folder and themes folder from (demo app) in your project folder src • Create components folder in src • In components folder copy item which you want example: • (list-view/google-card/layout3) • We have to create service to provide data to our component. Create service folder and add list-view-google-card-service.ts. Clear unnecessary data list-view-google-card-service.ts. Now we will add component to google-card page open google-card.module.ts and add component module import { GoogleCardLayout3Module } from '../../components/list-view/google-card/layout-3/google-card-layout-3.module Additionally, we have to add CUSTOM_ELEMENTS_SCHEMA.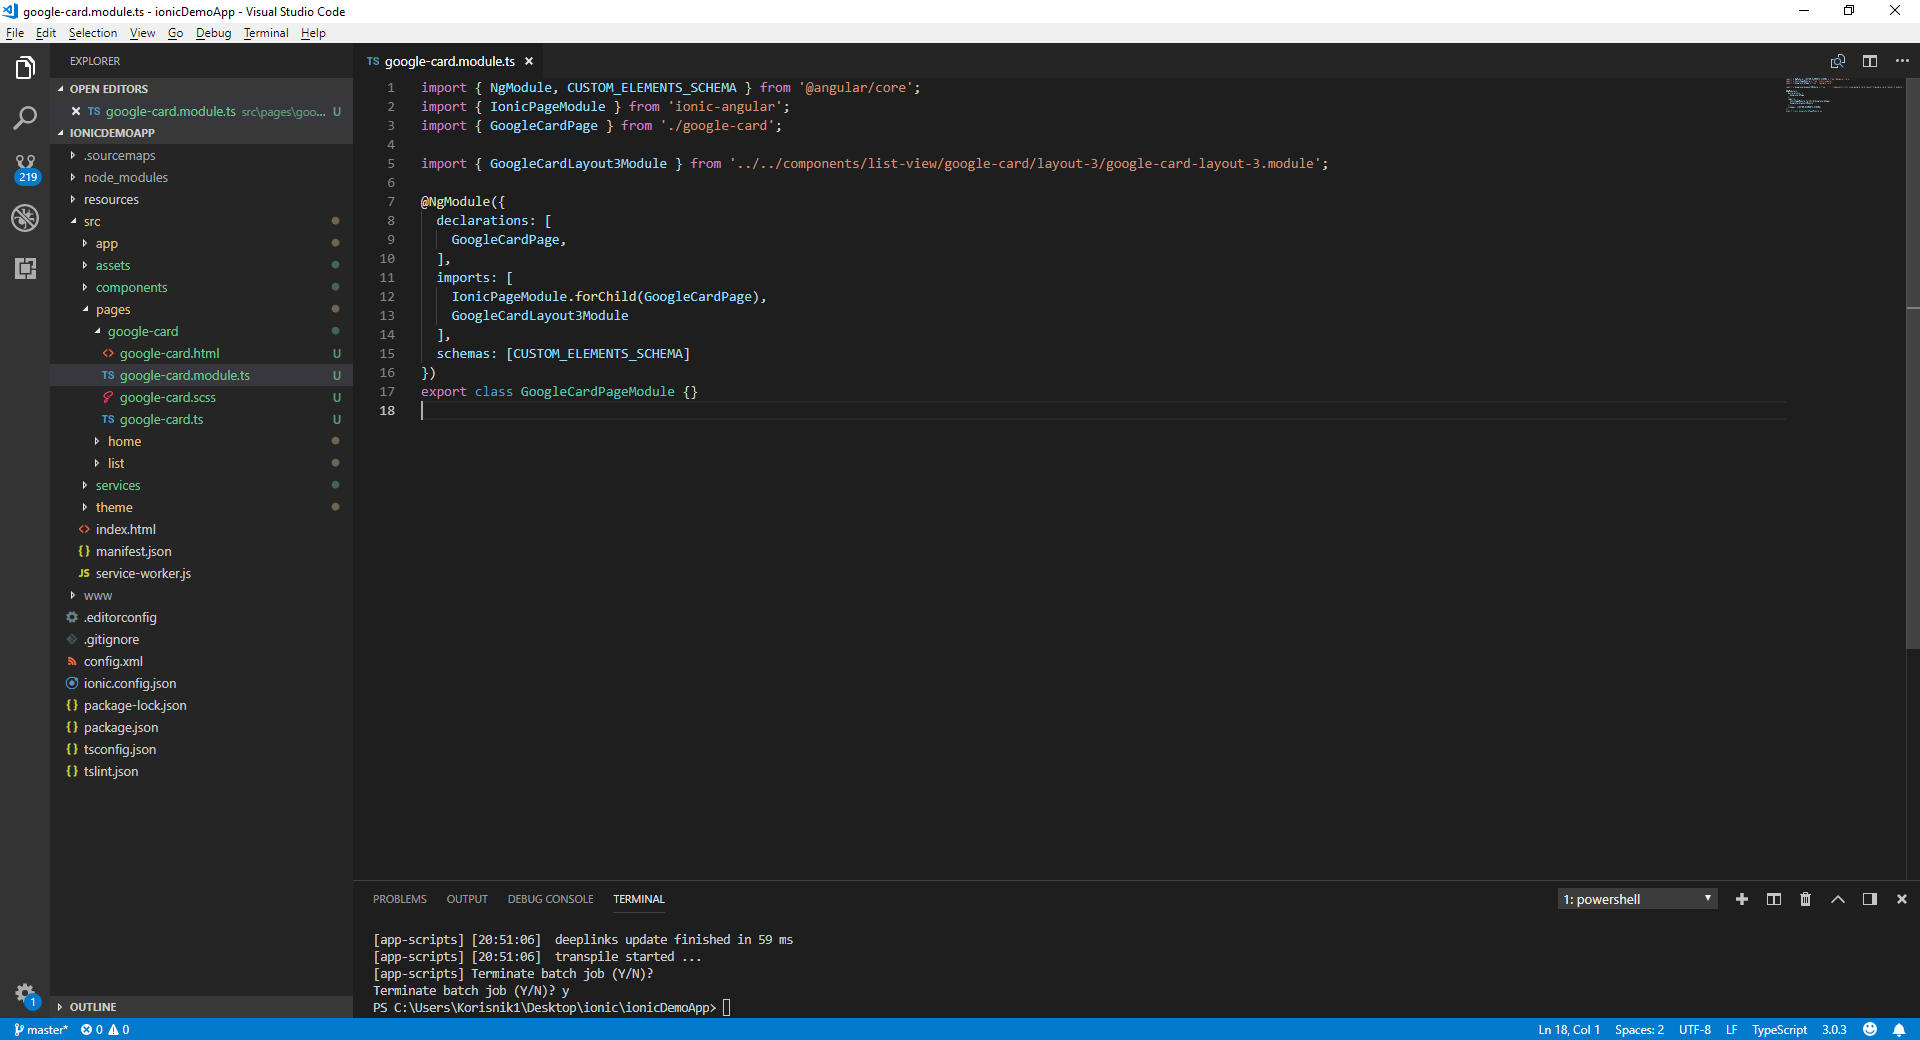 Open google-card.html path src/pages/google-card.html and add google-card-layout-3 component
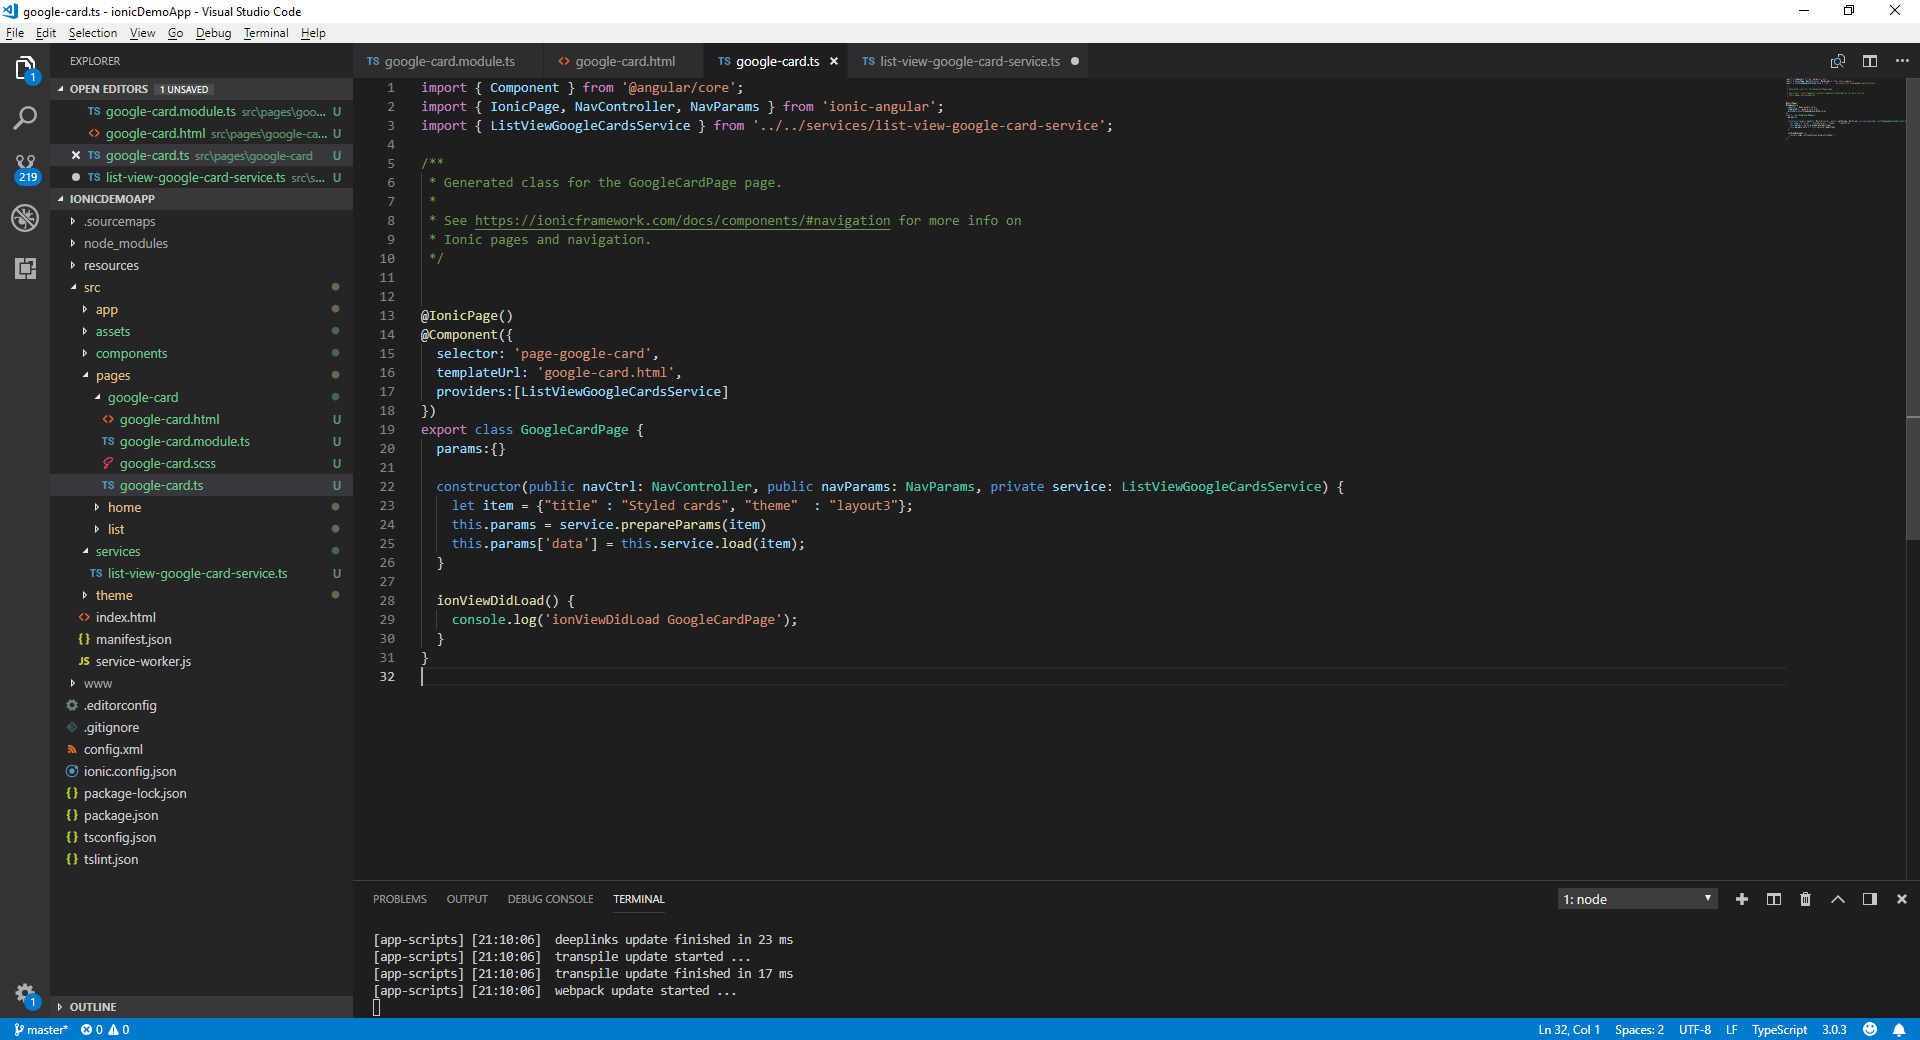
 We need to provide data to our component import:
service list-view-google-card-service.ts and just get data and events.
We need to provide data to our component import:
service list-view-google-card-service.ts and just get data and events.
 That's all for this tutorial! If you need any further assistance, do not hesitate to contact us via our e-mail dev@csform.com.